Helloo! Today, I’ll tell you the new acrylic pouring technique (Flip Cup) I’ve tried and the story of what I’ve been through. I want to talk about what the challenges I faced and what I learned.
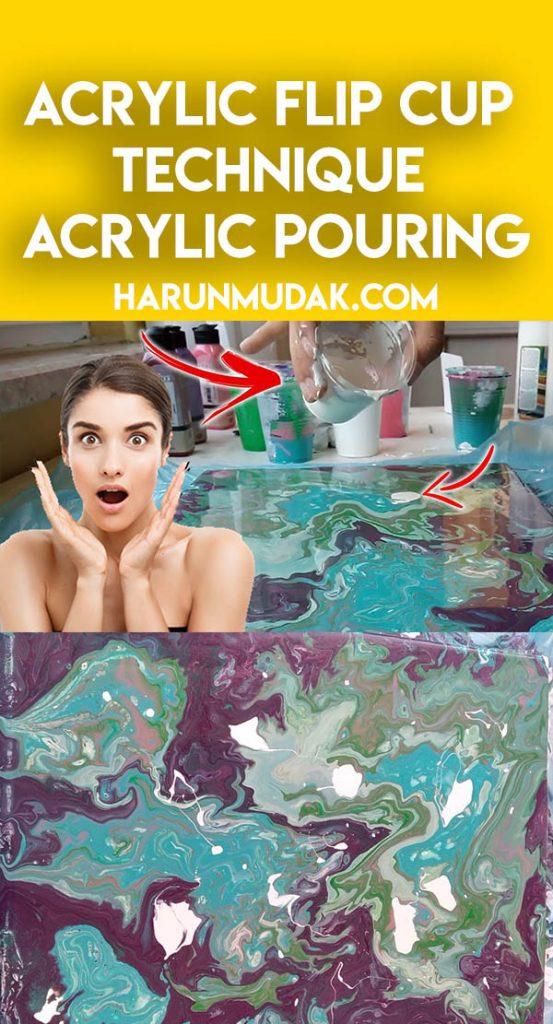
In my previous post I told you problem I had. I had a hard time making acrylic pouring. Acrylic paint did not flow on the canvas because of its low viscosity.
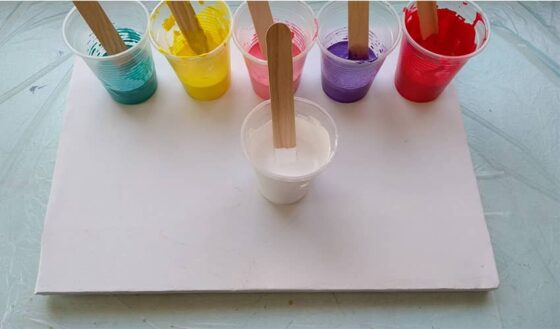
So, I bought acrylic pouring medium( You need for acrylic pouring) and made the acrylic paint more fluid. Of course new colors joined us. Turquoise, green, purple, white and hot pink. Not because the colors will be compatible, but only from curiosity. There is a link about color theory for acrylic pouring.
This time I wanted to try the flip cup technique and show it to you. As you can see at the beginning of the video, I made a very normal mix of acrylic paint and acrylic pouring medium. then poured white paint on the canvas. My reason for pouring white acrylic paint on the canvas was to increase the fluidity of the paints further and to give a better appearance there. But soon I saw the white paint I had cracked and the image on the canvas deteriorated.
What I Learned?
I learned that I should mix the acrylic paint I will use in the background with pouring medium. rather I didn’t learn at first 🙂 Let this be the subject of another article.
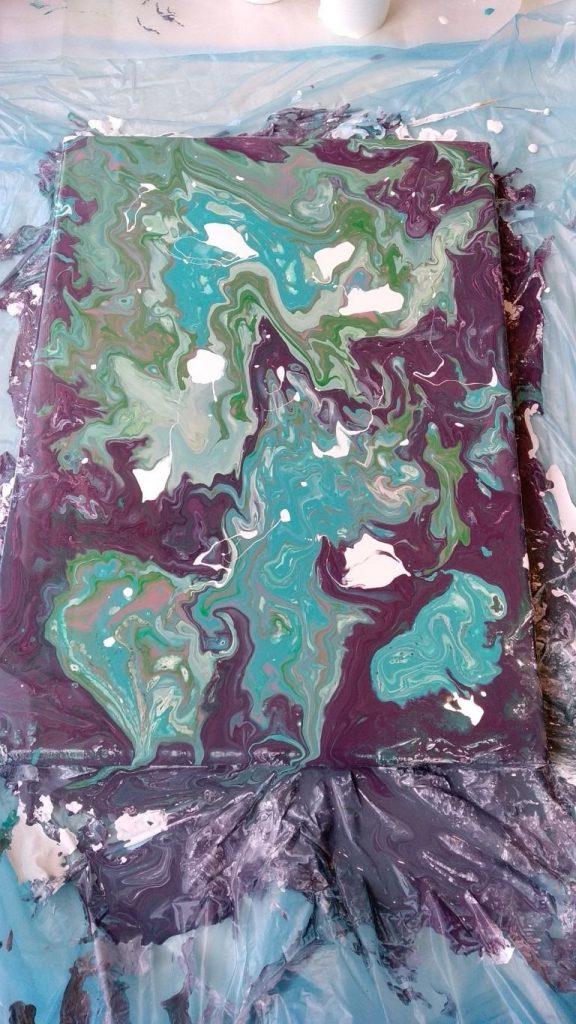
So, I’m really upset. I guess today wasn’t a good day for me to try acrylic painting. And I didn’t give up anyway. I made the necessary materials for the flip cup technique. Then I mixed the paints and poured them on the canvas. it was a really great experience. the resulting image was extremely pleasing. Paint continued to crack after it dried. I didn’t realize why at the time, but now I know. Let the room be the subject of my other writing.
You can take a look here for more acrylic painting inspiration.
Thank you for reading me. Don’t forget to share and follow!

